Follow the instructions on this page to learn how to add JIBB to your Cisco Room Series device, the optional features you can use, and how to get the most out of the JIBB app.
Watch the tutorial video below to get started
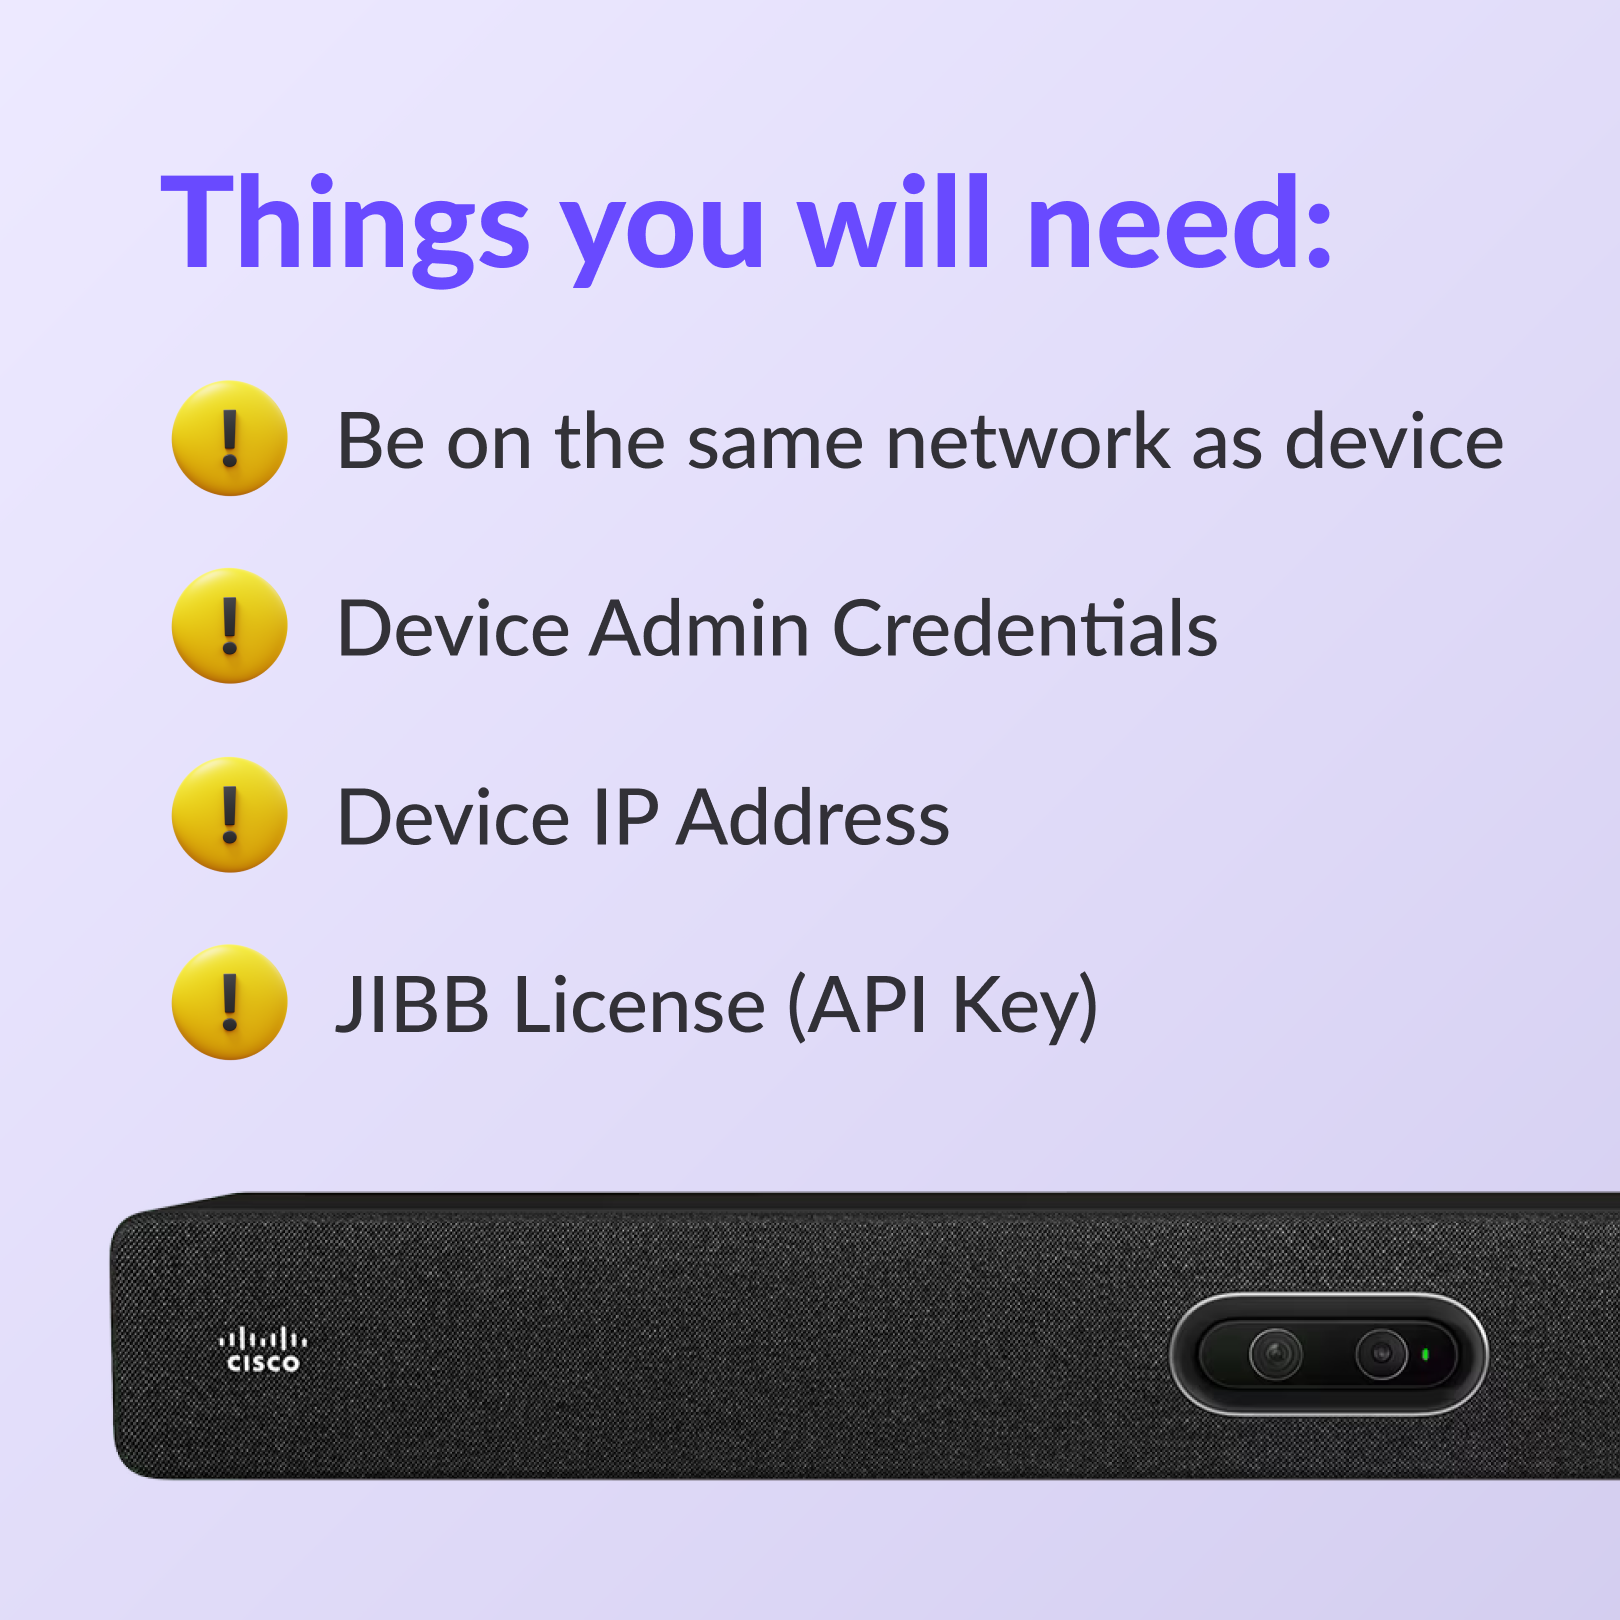
Please make sure you check the following details before installing JIBB:
Visit the Login Page:
Access Developer API Tab in Local Device Controls:
Execute the following API Command:
Interpret the Results:
If either Step 1 or Step 2 indicates that JIBB is being blocked:
JIBB is now fully compatible with Cisco Devices running on both the latest Cisco RoomOS Stable Channel and Microsoft Teams Rooms (MTR) mode. Whether you prefer the native Cisco experience or the MTR interface, JIBB works seamlessly with your setup.

Key Points to Ensure Compatibility:
Any time you want to install JIBB onto a device or update the app's configuration, please make sure you are connected to the same network the device is on.
You also need to have access to an active device admin username and password/passphrase, the device's IP address and a valid JIBB license API key (more info below).
Once you have checked the compatibility requirements above, you're ready to start installing JIBB onto your Cisco Room Series Device.
Step 01 - Login to the JIBB Admin Portal (app.jibb.ai/admin)
Step 02 - Go to the Macro Devices tab.
Step 03 - Add a Device and give it a name.
Step 04 - Click on Key, then generate and copy the API Key (you might want to paste this in a document for your own records - you will need to paste this API Key during the next step (explained below)
Step 05 - Click the "Configuration" button to open the form where you will start entering the admin credentials, API Key and choose settings.

After opening Configuration popup form, enter the required details.
Paste the API key you generated in the previous steps, along with an admin username, password and the IP address for the device.

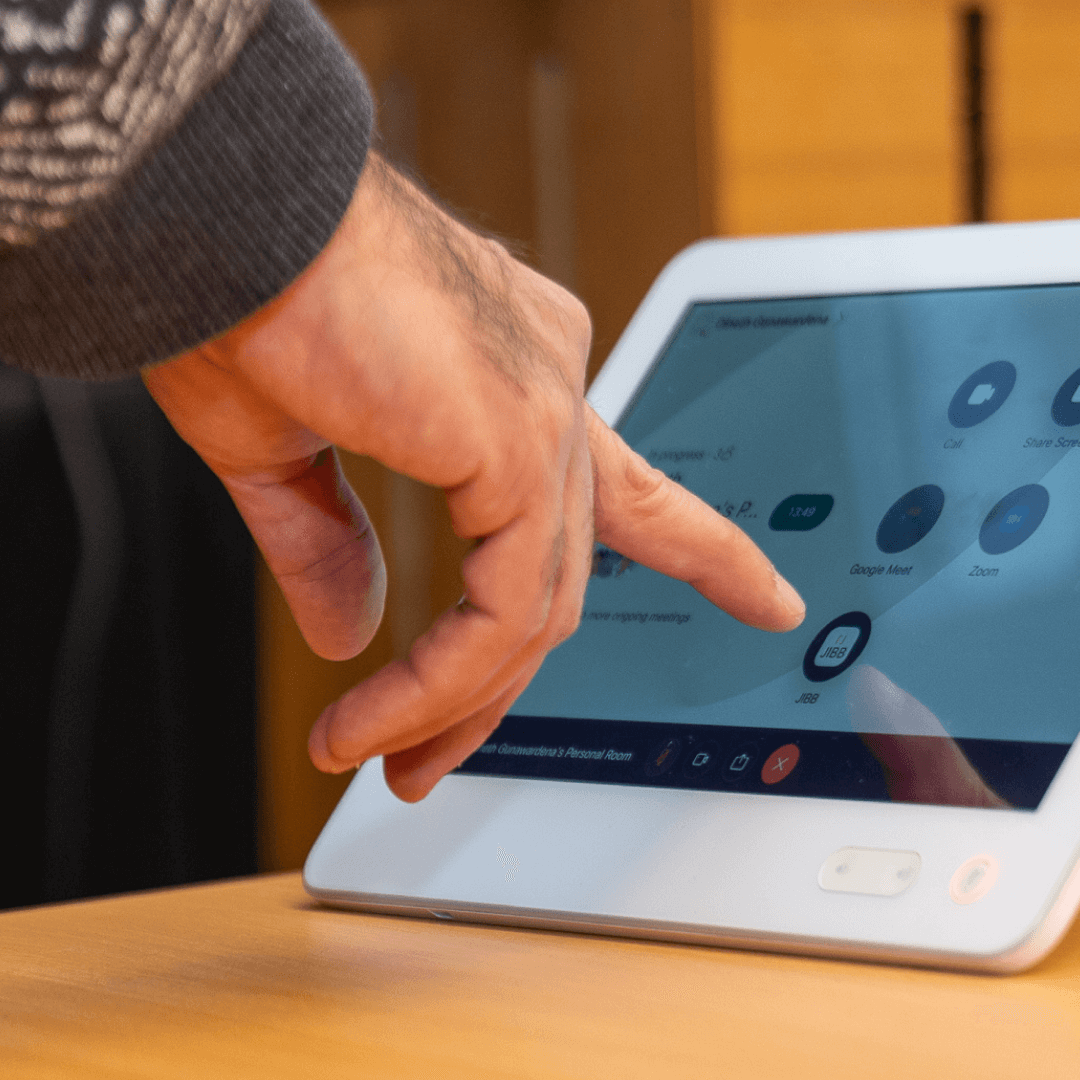
Once you've filled out the form and enabled any optional features, all you need to do is click save, and JIBB will automatically be installed onto your device. A "JIBB is ready" notification will appear on the Room Navigator, as well as the JIBB app icon.

After installing JIBB, follow these instructions to test the app or make any changes
When using the form to setup your installation, always remember to click save when you're done in order for the app to be installed correctly.
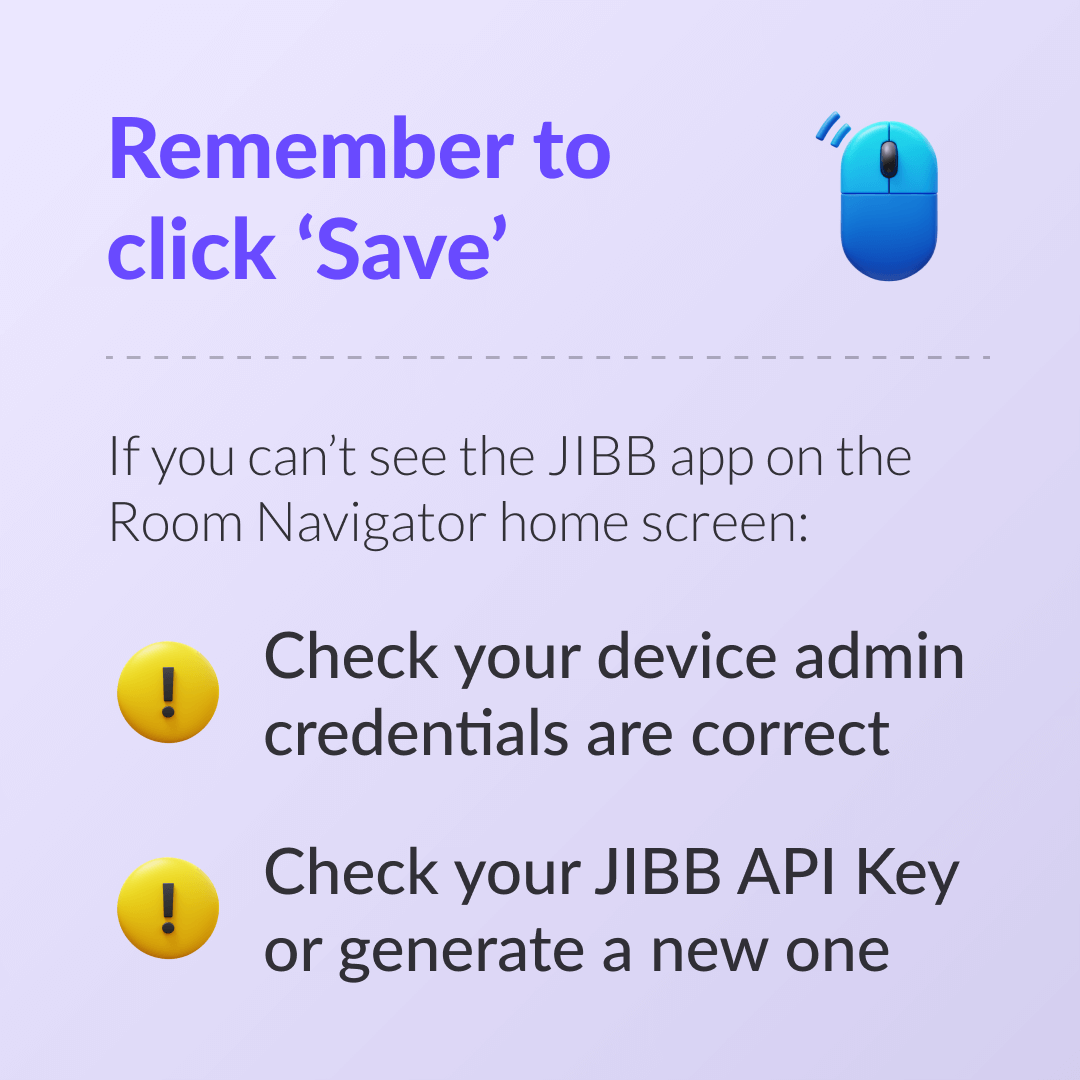
You'll know JIBB is installed when the JIBB app icon is added to the Room Navigator touchscreen (or inside the Control Panel if your device is running on MTR mode).
If you are updating the app after it's already installed, you'll see a "JIBB is ready" notification appear on the Room Navigator.
If you've already installed JIBB and want to change any settings, you'll need to reopen the configuration form following the same process as before, choose your new settings and click save to send your updates to the device.
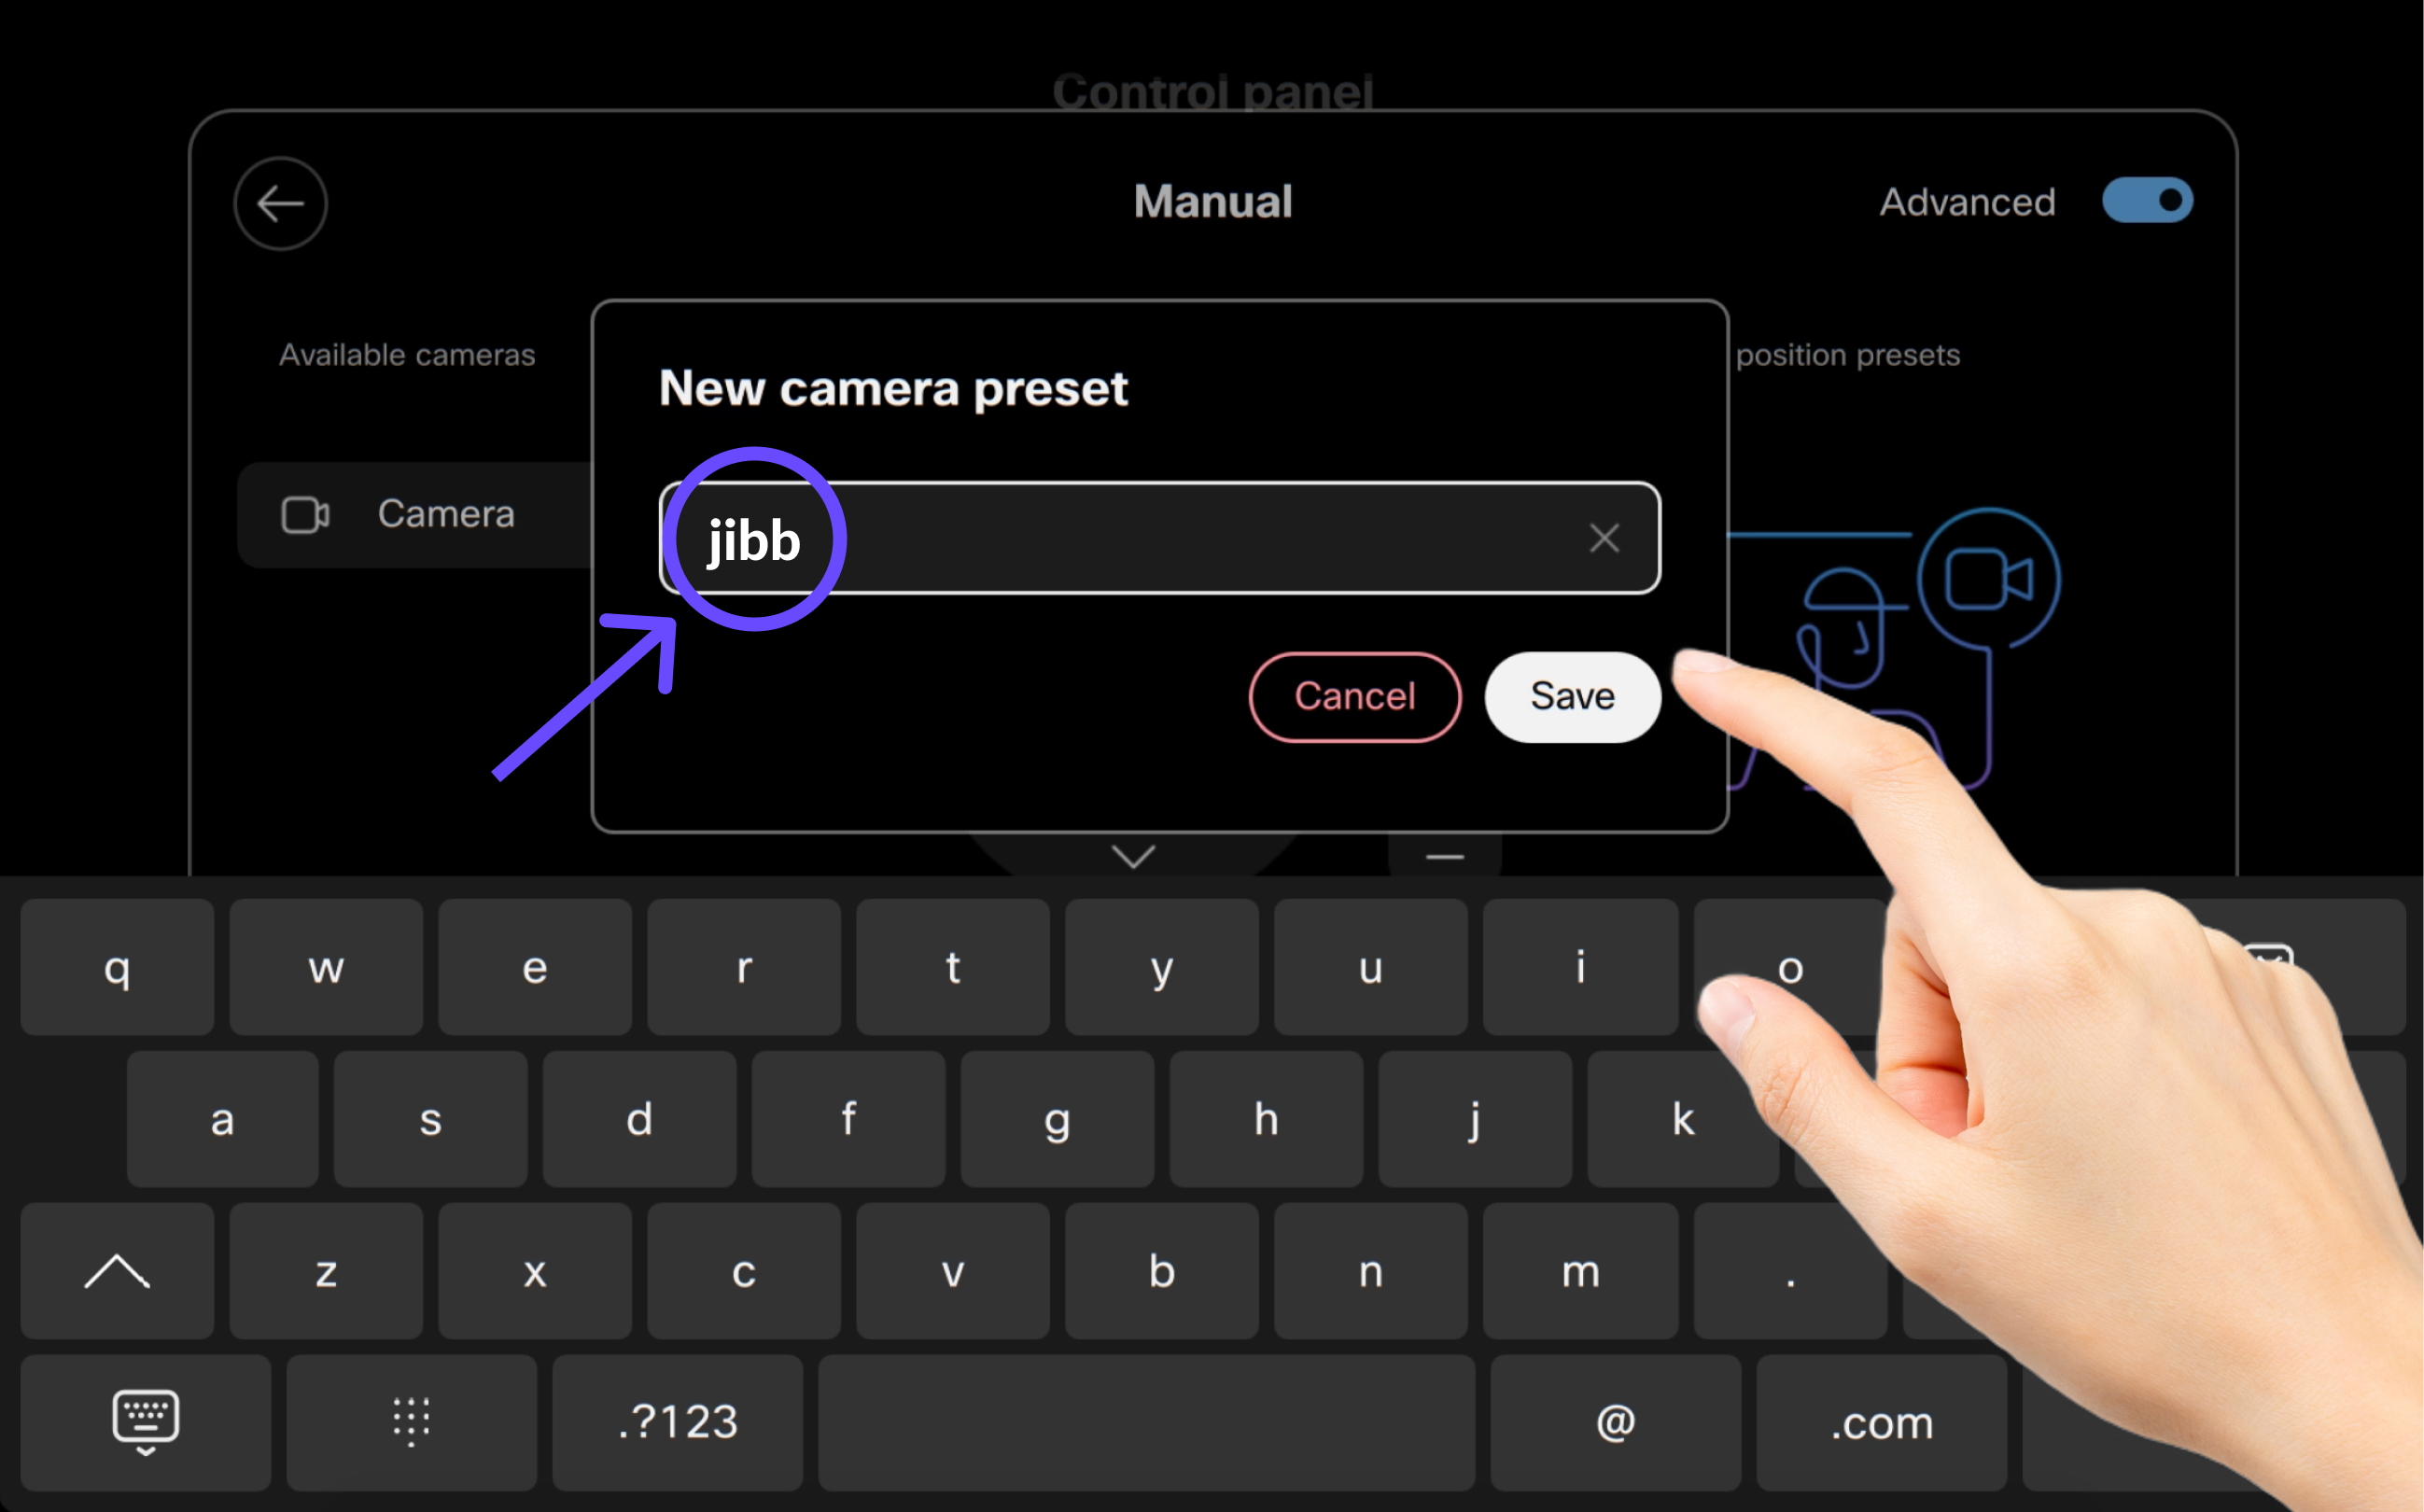
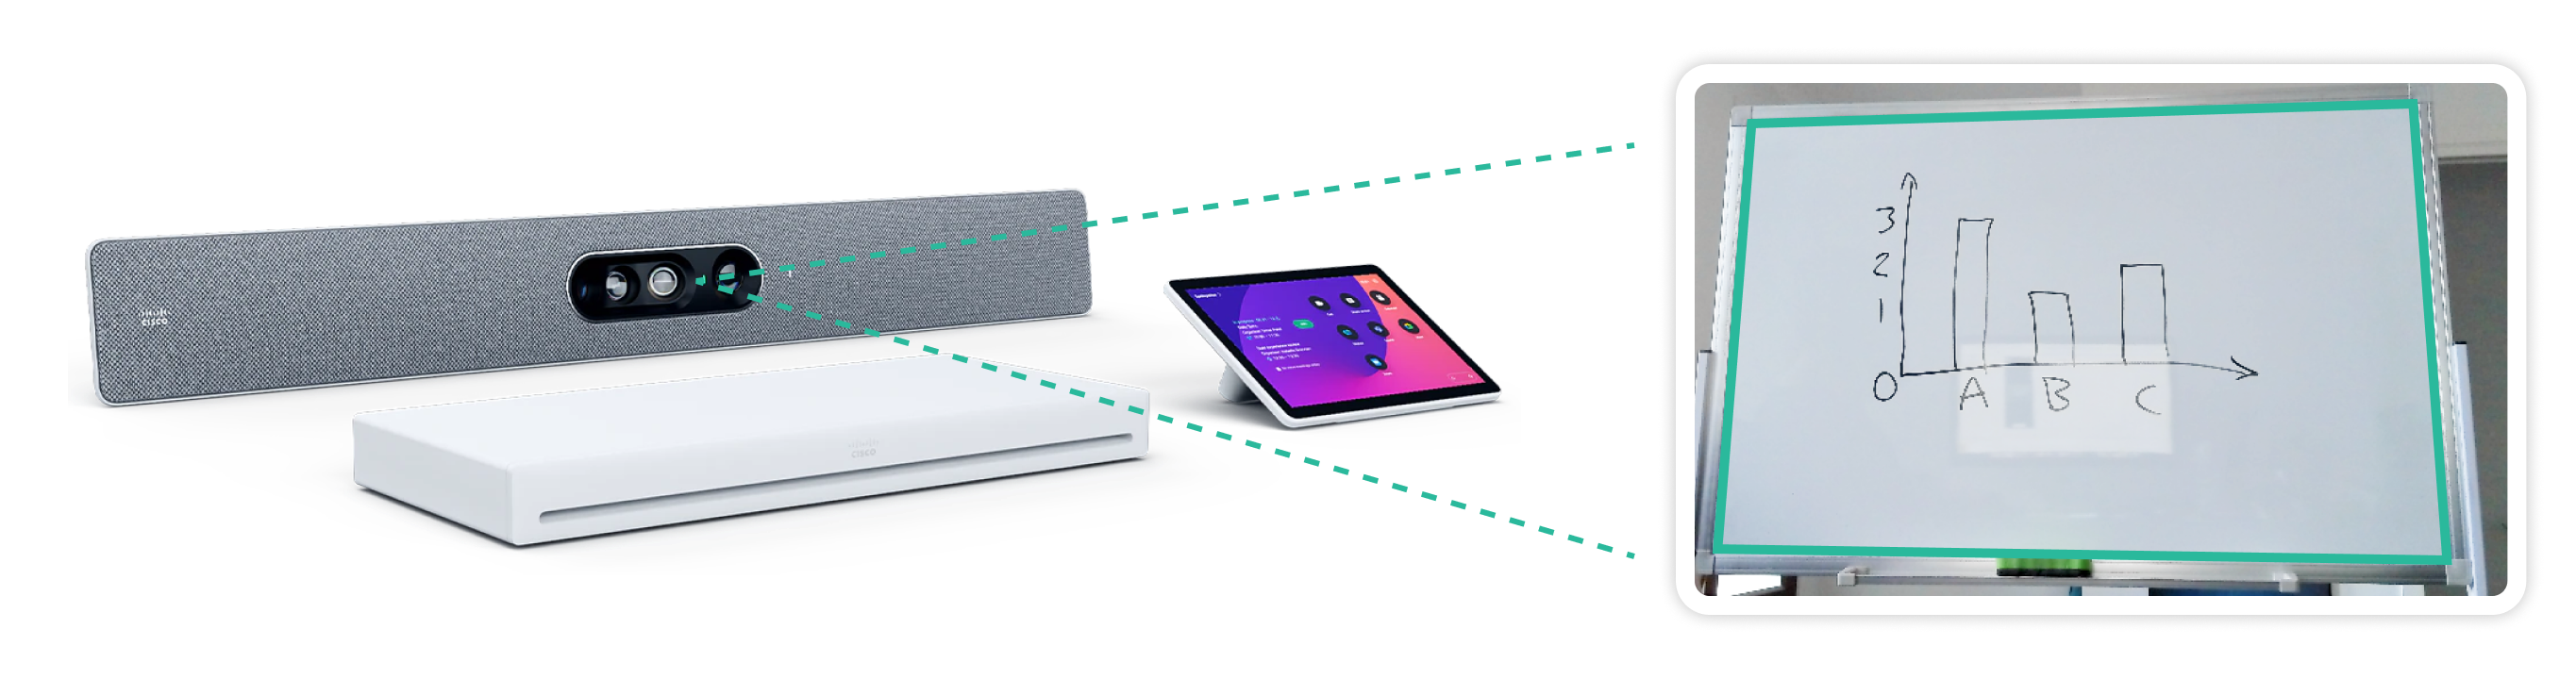
In order for JIBB to automatically snap to your whiteboard every time someone uses the app, we strongly recommend creating a new Camera Preset position named "jibb" on your device.
On your Room Navigator, go to the manual controls and aim the camera at the meeting room whiteboard, zoom in or out making sure it fits the whole writing surface inside the camera preview that will be displayed on the TV screen/monitor connected to your device.
You must name this new camera preset "jibb"
Make sure you tap "Save". Once installed, the JIBB macro will use this preset to ensure that every time someone starts the JIBB app on the device, the camera will automatically snap to the whiteboard.